Trim carpentry brings rooms to life. It’s the art of adding finishing touches that transform plain spaces into polished, beautiful interiors. From baseboards to crown molding, trim work adds character and style to your home.

Mastering trim carpentry takes skill, precision, and attention to detail. It’s not just about nailing boards to walls. You need to measure carefully, make perfect cuts, and join pieces seamlessly. Good trim work looks effortless, but it’s the result of careful planning and craftsmanship.
You can learn basic trim carpentry rules to improve your DIY skills. Start with simple projects like installing baseboards. As you gain confidence, move on to more complex tasks like crown molding or custom built-ins. With practice, you’ll develop the eye for detail that sets great trim carpenters apart.
Essential Tools and Materials

Good trim work requires the right equipment and supplies. Having quality tools and materials on hand will help you achieve professional-looking results.
Choosing the Right Tools
A miter saw is essential for making precise angled cuts. Look for a 10-inch or 12-inch sliding compound miter saw for versatility. You’ll also need a quality tape measure – get one that’s at least 25 feet long with clear markings.
A pneumatic nail gun speeds up installation significantly. Consider getting both a finish nailer and brad nailer. A router allows you to create decorative edges and profiles.
Hand tools like chisels, block planes, and coping saws help with detail work. Invest in sharp, high-quality chisels in a range of sizes. A coping saw lets you cut intricate shapes for inside corners.
Don’t forget safety gear like safety glasses, hearing protection, and a dust mask.
Materials for Trim Work
Choose trim materials suited to your project. Solid wood offers a classic look but costs more. MDF (medium-density fiberboard) is budget-friendly and takes paint well.
For baseboards, 3 1/4 inch to 5 1/4 inch heights are common. Crown molding typically ranges from 3 to 5 inches. Get extra material to account for waste – about 10-15% more than you measure.
Use wood filler to fill nail holes and gaps. Get a high-quality paintable caulk for sealing joints. Wood glue helps reinforce mitered corners.
Pre-primed trim saves time. If using raw wood, prime before installing for best results.
Understanding Trim Types and Functions
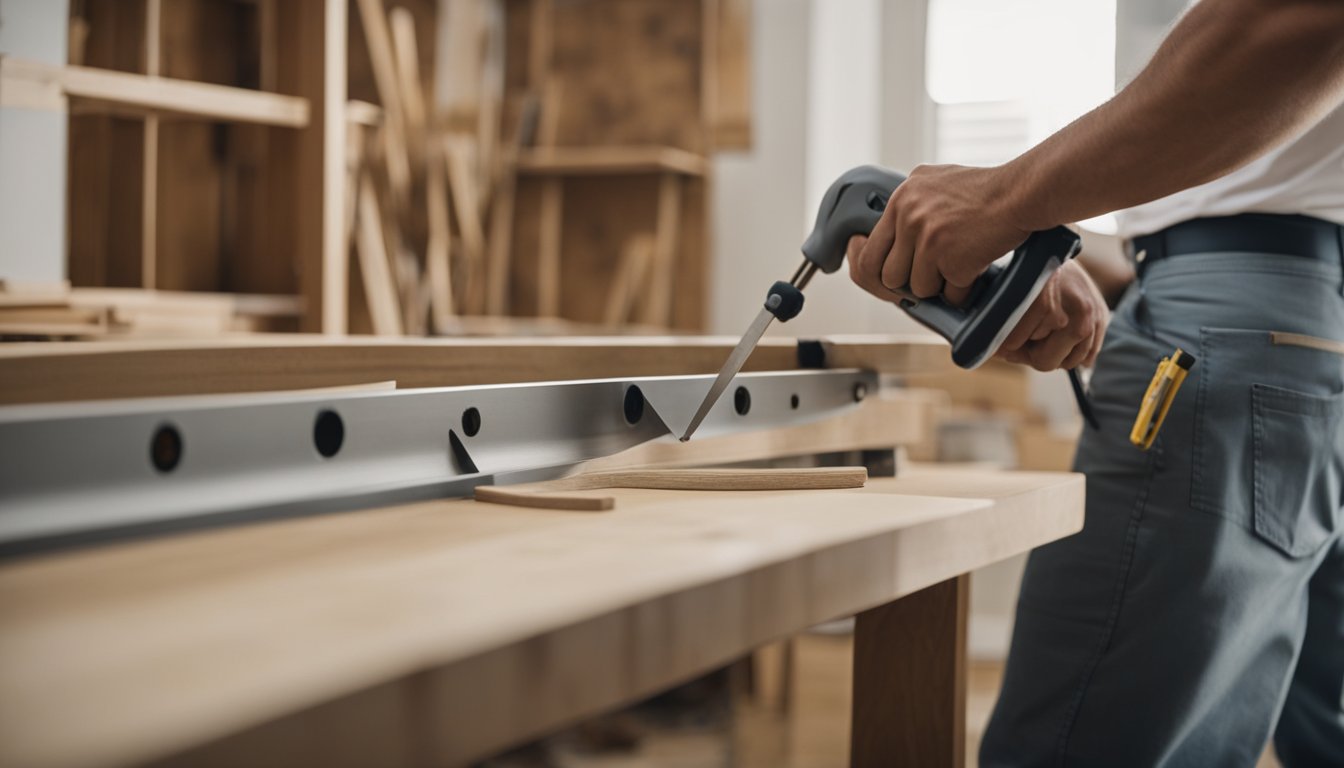
Trim adds style and character to your home. It covers gaps, hides imperfections, and creates visual interest. There are many types of trim, each serving a unique purpose.
Crown Molding and Baseboards
Crown molding adorns the top of walls where they meet the ceiling. It comes in various styles, from simple to ornate. Crown molding makes rooms feel taller and more elegant.
Baseboards protect the bottom of walls from scuffs and impacts. They also hide gaps between walls and flooring. Baseboards range from 3 to 8 inches tall. Taller baseboards create a more formal look.
Shoe molding is a thin strip that sits on top of baseboards. It covers any remaining gaps between the baseboard and floor. This creates a polished, finished appearance.
Door and Window Trim
Door and window casings frame openings and hide gaps between walls and frames. They come in many profiles, from plain to decorative.
Window sills extend beyond the casing. They provide a flat surface for plants or decor. Aprons are trim pieces installed below window sills for a finished look.
Door jambs are the vertical pieces framing a doorway. Stops are thin strips attached to jambs that the door closes against.
Specialty Trim and Wainscoting
Chair rail divides walls horizontally, often at chair-back height. It protects walls from damage and adds visual interest.
Wainscoting covers the lower portion of walls. It can be simple beadboard or elaborate raised panels. Wainscoting adds texture and depth to rooms.
Picture rail is installed near the ceiling. It allows you to hang art without damaging walls. In Texas, 25% of homes feature picture rail.
Coffered ceilings use a grid of beams to create a 3D effect. This adds drama and character to large rooms or entryways.
Measuring, Marking, and Cutting Techniques

Precise measurements and cuts are crucial for top-notch trim work. You need to master these skills to create seamless joints and professional-looking results.
Accurate Measurements for Trim
Start by using a sturdy tape measure. Always measure twice before cutting to avoid costly mistakes. For inside corners, measure from corner to corner at the top, middle, and bottom. Use the shortest measurement to ensure a tight fit.
Mark your measurements clearly with a sharp pencil. A speed square helps make accurate 90-degree marks. For long pieces, use a chalk line to snap a straight reference line.
Properly sorting and breaking down trim parts improves quality and saves material. Group similar pieces together and cut them at the same time for consistency.
Mastering Miter Cuts
Miter cuts are essential for joining trim at corners. Set your miter saw to the correct angle – usually 45 degrees for a 90-degree corner. Make test cuts on scrap wood to check the fit before cutting your trim.
For perfect miters:
- Keep your saw blade sharp
- Support long pieces to prevent sagging
- Cut slightly long, then trim for an exact fit
Practice these skills on scrap wood before working on real installations. This helps you gain confidence and improves precision.
Cutting and Fitting Techniques
When cutting trim, always cut on the waste side of your mark. You can trim more off, but you can’t add material back. Use a fine-toothed saw blade for clean cuts with minimal splintering.
For inside corners, use a coping saw to cut one piece straight and cope the other to fit. This creates a tighter joint than two mitered pieces. Dry fit all pieces before nailing to ensure a good fit.
Avoid flush joints on layers of standing trim. Leave a small reveal between pieces for a professional look. A 3/16-inch reveal often works well.
Installation and Finishing Methods

Proper techniques are key for trim carpentry success. Attention to detail and the right tools make a big difference in the final look.
Fastening and Nailing Techniques
Choosing the right fasteners is crucial for secure trim installation. Use finish nails for most trim work. These small nails leave tiny holes that are easy to fill. For heavier trim, opt for brad nailers. They offer more holding power.
Nail placement matters too. Space nails about 16 inches apart on long runs. At joints, place nails within 2 inches of the end to prevent splitting. Always nail into studs or solid backing for the best hold.
Pre-drill holes in hardwoods to avoid splitting. This extra step pays off in a cleaner finish. When using a nail gun, adjust the depth to sink nails just below the surface.
Sanding and Painting Trim
Start with coarse sandpaper to smooth rough spots. Move to finer grits for a polished look. Sand in the direction of the wood grain to avoid scratches.
Fill nail holes with wood putty. Let it dry, then sand flush. For painted trim, use a quick-drying spackle instead.
Prime bare wood before painting. This seals the surface and helps paint stick better. Choose a high-quality brush for smooth results. Apply thin coats of paint, letting each dry fully. Light sanding between coats creates an extra-smooth finish.
Troubleshooting Installation Issues
Gaps in mitered corners are common problems. Fix them by slightly adjusting the miter angle. Even a half-degree change can make a big difference.
For bowed trim, use shims behind it to straighten the piece. Cut small wedges from scrap wood to fill the space.
Warped boards can be tricky. Try wetting the concave side and leaving it in the sun. This often helps straighten the wood. If that fails, cut the piece into shorter lengths.
In older Texas homes, uneven walls pose challenges. Use a scribe tool to mark trim for a perfect fit against wavy surfaces. This takes practice but gives great results.
Advanced Trim Techniques and Styles

Mastering advanced trim techniques opens up new possibilities for creating stunning interiors. These methods allow you to add unique touches and elevate the overall look of a space.
Complex Miter Work
Complex miter work takes trim carpentry to the next level. You’ll need to cut precise angles to join pieces seamlessly. For crown molding, use a coping saw to shape the end of one piece to fit the profile of another. This technique works well for inside corners.
Practice compound miters for outside corners. These cuts involve two angles – the miter and the bevel. A compound miter saw makes this task easier. Always double-check your angles before cutting.
For tricky situations, consider using plinth blocks at the base of door casings. These squares of wood eliminate the need for angled cuts where the casing meets the baseboard.
Intricate Trim Details
Adding intricate details can transform plain trim into a work of art. Consider using rosettes at corner blocks where door or window casings meet. These decorative elements add visual interest and hide imperfect miters.
Experiment with layered trim profiles. Combine different molding shapes to create depth and shadow lines. Start with a base layer and build outward. This technique works well for fireplace mantels or built-in cabinetry.
Try your hand at custom joinery. Dovetail joints or finger joints can add a touch of craftsmanship to visible trim connections. These methods require patience and practice but result in strong, attractive joints.
Combining Styles for Custom Looks
Mixing trim styles can create a unique, personalized look. Blend traditional and modern elements for an eclectic feel. You might pair sleek, simple baseboards with ornate crown molding.
Consider using different trim styles in different rooms. This approach can help define spaces while maintaining overall flow. In Texas, you might see rustic trim in a den and more refined styles in formal areas.
Don’t be afraid to mix materials. Combine wood trim with metal accents for a contemporary twist. Painted and stained wood can coexist beautifully when used thoughtfully.
Remember, 60% of homeowners in Texas prefer custom trim work. By mastering these advanced techniques, you can create spaces that stand out and reflect individual style.
Frequently Asked Questions

Trim carpentry requires skill, tools, and knowledge. Many people want to know how to get started and what the job entails.
How does one become a proficient trim carpenter?
To become good at trim carpentry, you need practice and training. Learn the basics of different trim types and tools. Improve your measuring and cutting skills.
Take classes or apprenticeships to gain hands-on experience. Work on small projects to build your abilities over time.
What are the essential tools required for trim carpentry work?
Key tools for trim carpentry include:
- Measuring tape and level
- Miter saw and table saw
- Nail gun and hammer
- Caulk gun and wood filler
- Chisel set and sandpaper
High-quality tools help you work more efficiently and produce better results.
In what ways does trim carpentry differ from finish carpentry?
Trim carpentry is actually a type of finish carpentry. It focuses on installing decorative woodwork like baseboards, crown molding, and door casings.
Finish carpentry covers a broader range of final woodworking tasks in construction projects.
What are the typical responsibilities of a trim carpenter?
Trim carpenters install and fit trims around windows, doors, and other home features. They may also:
- Build custom cabinetry
- Install wainscoting and chair rails
- Apply crown molding
- Fit baseboards and shoe molding
Attention to detail is crucial in this work.
What is the average salary for a professional in the field of trim carpentry?
The average salary for a trim carpenter in Texas is about $45,000 per year. This equals roughly $22 per hour.
Pay can vary based on experience, location, and employer. Skilled trim carpenters may earn more.
What examples best showcase the skills of an experienced finish carpenter?
Skilled finish carpenters excel at:
- Installing complex crown molding
- Fitting trim around arched windows
- Creating custom built-ins
- Applying decorative wainscoting
Their work shows precise measurements, clean cuts, and seamless joints.